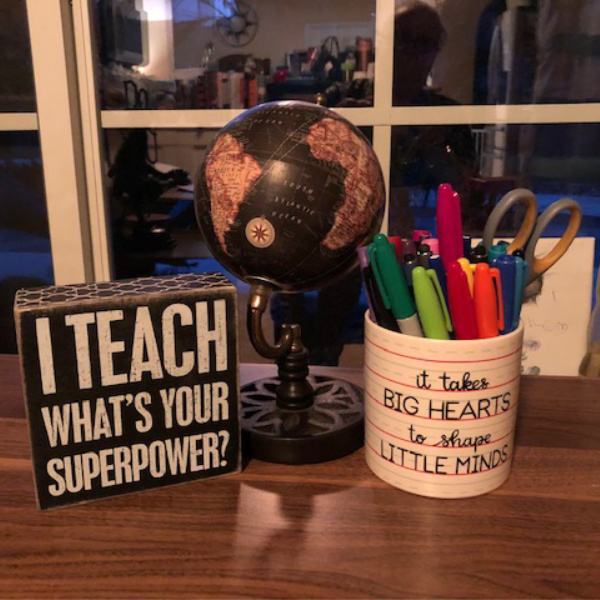
Organizing Tips; 12 steps to an organized elementary classroom
Organizing Tips – Getting your elementary classroom organized is one of the top things that teachers want to get done. There is nothing more frustrating than looking for something you know you have, but can’t find.
So, knowing this is one of your challenges, here are my 12 steps to help you get organized so you can ROCK your classroom.
Step #1 – organizing tips for your teacher desk area.
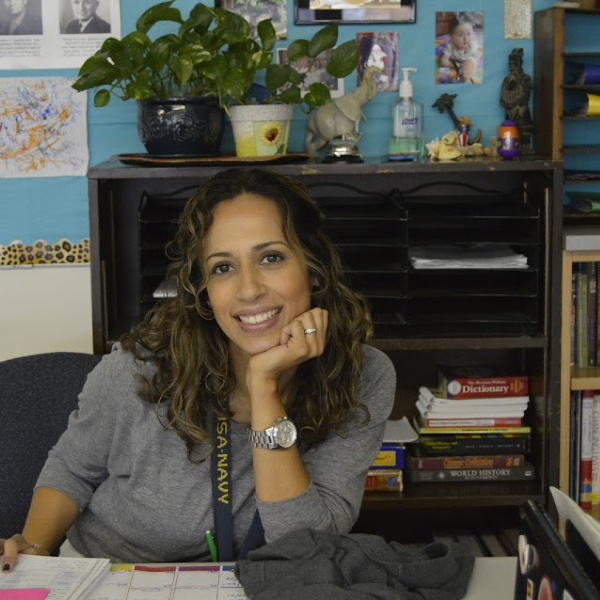
I suggest that you place your desk near a bookshelf. This is so you can store your teacher’s editions to all your curricular areas close-by. Have a pencil holder or two (you might want to separate your colored markers into their own container).
Organize your desk drawers. Decide if you want paper clips stored on top of the desk or in the drawers. Get a paper tray for your loose papers and handouts.
Step #2 – Create a “teaching station” at the front of the classroom.
You will need to house your laptop and projector (unless yours has been mounted on the ceiling by your tech department) on a table or cart in the front of the classroom for instruction. Also, most teachers today have document cameras that project to the front of the room as well.
These items need a large table to work from that contains room for your plan book, the Teacher’s Edition, and other items you use while teaching the whole group. I also kept a pen/pencil container, my student sticks with names on them (for random selection purposes), and my second stapler. As you use your table, you will figure out what other items need to be “handy” while you are teaching.
Speaking of getting organized, I have a FREE downloadable checklist about Classroom Routines. Get it by completing this form.
**
Step #3 – Set up a small cart or table near your focus wall.
More organizing tips for you in order to access to many items while teaching a group on the carpet area is to set up an area for this. Next to your teacher’s
I’m sure as you begin teaching from this area of the classroom, you will realize all the other items that need to be “easy to access” from the carpet area.
Step #4 – Organize your cupboards or cabinets.
Most classes have some type of closed storage for teachers to use. I used to store all my art supplies inside these cabinets. Create an organized place inside the cabinet for these items. Also, organize the various manipulatives that come with the math series and language arts series for primary grades.
You will be happier (and get more use out of your cabinet) if you get things inside organized. I used to keep all of the Language Arts “extra” materials on a shelf all its own. And a second would be for math manipulatives and resources.
Step #5 – Set up your homework check-in area.
Will students turn in homework daily? Or will you be collecting it every Friday? You will need to establish organizing tips for this. Whatever system you establish, there needs to be a way to collect it and document who has turned it in or not.
One organizing tip is that many teachers use charts that hang on the wall, others mark it in their grade books. Which one you use will dictate how this area is set up. Often teachers who teach 5th grade and higher assign the collection of homework and documentation of completion to a student helper. If you do this, I suggest that you have this “student job” be for an entire month or six week period. This is a “job” that is difficult to change weekly.
Step #6 – Store your bulletin board supplies in an organized fashion.
You will need a specific storage compartment or box for various posters that you have for teaching. There is a variety to choose from on Amazon. The point is that you need to store them without folding them if possible.
You also need to organize your bulletin board borders and supplies. The good news is that once you have purchased them, they will last for years! If you have to purchase them one at a time, that’s fine.
If you’d like to see how I would set up my classroom each year, I have a FREE Perfect Classroom Guide that you can get here.
**
I suggest you ask your principal (if you are comfortable with him/her) if there are funds available for you to order classroom supplies. If there are, these items would be great to purchase with these types of school funds.
Step #7 – Organizing tips for the students’ supplies.
You will need to determine how
I ended up liking the individual baskets the best because there was less arguing over supplies that way. Each basket had a pencil, a box of crayons, a pair of scissors and a glue stick.
I would replace the pencils about once a month, and of course, gave students another if they needed it. They would get a new box of crayons in January. I know in some states parents supply these items, but where I worked the school did. I did have some students that brought their own and I let them use their own as long as it did not cause a problem or disruption.
When I taught older students (third grade and higher), I had the supplies on a side cabinet or bookshelf to be handed out when needed. And students were responsible for their own pencils, and pens.
Step #8 – determine how you will distribute and store student textbooks.
How you manage and distribute your textbooks is another one of the organizing tips that you need to determine in order to be organized. So organizing tip #8 is to establish your
When I taught upper grades (4th-6th grades) I went ahead and passed out all the textbooks before school started. I then documented what number textbook each student had in my grade book.
After doing this (which took about an hour) I put the whole stack of books inside their desk (which had a name tag on the desktop).
When I taught primary grades (K-2nd) I used a different system since often I would use their consumable books by tearing the pages out ahead of time for instructional purposes later.
And in first grade they actually have about 6 different reading books, beginning with 3 to 4
Step #9 – create a paper collection system.
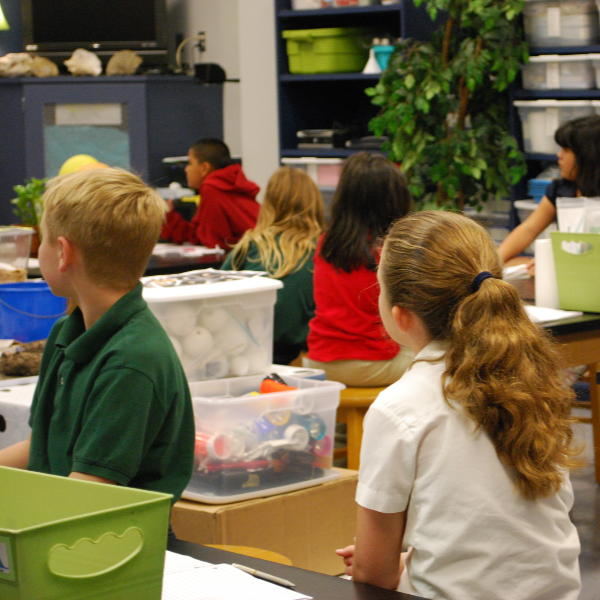
For organizing tip #9 you will need to figure out how student work will be collected; I used numerous ways throughout my seventeen years as a teacher. I tried paper trays, hanging trays, files, folders, and tubs.
Ultimately, what worked best for me was the following:
For Primary grades K-2nd each child had a folder in their desk that was used to store the weekly work. One side of the folder was marked “Work Still to Finish” and the other side was marked “Completed Work.”
During the first three weeks to a month at the beginning of the year, I trained the students to place their work in the folders as each subject area ended. I even had to say, “Put your work on the correct side of your folder.”
During the week if the student was finished with something early, I always told him/her to check their work folder to see if they have anything that needs to be finished.
Dealing With Unfinished Work
Then mid-week I would do a quick folder check and pull out the “work that needs to be finished” and staple it together with a note home telling the parents to have the student complete it at home.
The purpose of this is two-fold; first it lets the parents know that their child is not completing their classwork in class AND so they can get some or all of it complete.
Don’t expect to get it returned. You may or may not. Just document in your grade book which child is not getting classwork completed.
Then every Friday I would pull out the completed work and staple it together (sometimes I had to divide it into two packets if it was really thick). With the onset of students working on laptops or iPads, there is probably not as much student papers as in the past.
I would try to quickly put a star, sticker, happy face, or
I tried to check most of the student math work during the period while walking around during independent and guided practice.
Paperwork system for grades 3rd – 6th
I only taught up to 6th grade, so I don’t have a suggestion for middle school or high school. But for 3rd-6th grades, I used a hanging file system.
As students completed their work, they took it over to the hanging file folders and placed it in their folder. If something wasn’t completed during the allotted class time, they put it in their desk to try to complete later.
Once a week I had them empty their desks and we stapled the incomplete work together. The students
The same reasons as for the primary grades apply here. Don’t expect many to return them (and don’t stress over it). Just keep track of who took classwork home and who didn’t.
Often, I would have a class monitor walk around and stamp each students paper with the stamp “completed together in class” if it was work that we all did as a group. That way I didn’t have to give those papers a specific grade.
I have another article about organizing your classroom and creating routines. You can read it here.
How to Prepare Your Classroom Over Time and Still Enjoy Summer
Step #10 – display student jobs for the week (or month).
Create an area and a system for student jobs. Decide if the jobs will be for the week or for the month. I had a chart hanging near the door of the 8-10 jobs that I had for students to do.
Each Monday I would mix up cards with the students’ names on them and draw a card. That student could select what job he/she wanted. I continued this process until all jobs were assigned.
I placed the cards of the students not helping that week in a separate area so their names would be used first to draw from for the next week. The students got used to this system, and they enjoyed getting to pick which job they wanted.
Students were not allowed to decline a turn at a job. It was explained the first day of school that they would all help with tasks in the classroom because it is their room too AND I can’t do it all by myself.

Step #11 – Organizing tips for your iPads or laptops.
Well, this was not an organizing tip that I had to figure out because when I was teaching we didn’t have these. When I was principal we had some laptop carts that contained a class set of laptops. But these were shared with a number of classes.
Now it seems that each class has its own set of either iPads or laptops. I’m assuming you need to establish a system for making sure these get recharged each afternoon. And a way to distribute them each morning.
I would probably have each student pick up their iPad each morning as part of their morning tasks when they are putting their backpacks away, etc. Of course, this is assuming that each iPad is clearly marked with the students’ names.
Final Organizing tips –
Step #12 – Create a system for parent communication.
Many school systems today have online portals for parent communication. This is assuming that all parents have access to a computer or mobile device.
Create a system for sending out notifications to the whole class at once. Create a whole group tag, or some other such system. Then you can easily include your note or information for the parents.
I am currently working on a digital file for parent communications. Once I have it ready, I will make it available to you.
Take the opportunity to use this easy. access to parents with emails and text messages to keep individual parents informed of things also. Be sure to begin the year with positive information and notes.
You can tell a parent something cute their child said or did. Or if they fell down on the playground, you can quickly tell the parents what happened.
If you do three or four quick notes each afternoon you can have them done in a week or two. You don’t have to do this all year long, but a few in the beginning gets parents used to looking at what you’ve sent them.
If you get in the habit of doing this, you will get more responses when you have to contact them about a problem or issue.
Well, that is my 12 Steps for creating an organized classroom. Do you have others? I’d love to hear what you have to add.
Until Next Time,
Your Teacher Buddy
If your interested in more articles on classroom organization, Elyse from “Proud to be Primary” has this one:
Classroom Organization Ideas You Won’t Believe You Did Without
