STEPS for Launching The Perfectly Organized Classroom
Steps for creating the perfect classroom. Most teachers I know have this sense of both order and chaos. However, there is a sense of renewal each August when you set up your perfectly organized classroom.
Here are my tips for creating an organized classroom.
I used to love to go, at my leisure, during the last two weeks before school started to set up my classroom. This was when I was happily rested after a nice summer off.
Usually I would go in for two or three hours each day setting up the room bit by bit. I liked this process because I never felt hurried or overwhelmed. And yet I wasn’t staying a WHOLE DAY OF MY VACATION.
Work with Your Schedule
You might also be interested in an article I wrote about being prepared and ahead of the game. You can access it here.
Teacher Organization – How to PREPARE and Stay Focused
I’m a morning person, so this worked well for me to go in the A.M.
First I would arrange all the desks the way I wanted them. The custodians would have them all stacked near the wall since they had cleaned the floors.
I would also put the little chairs under each desk. This small task allowed me to check each chair to make sure none were broken. Having all the desks cleared allowed me ample space for unpacking.
You can get your own quick guide to this Perfect Classroom Setup below. Just click the button and submit your email address and I will zip it off to you.
Setting up Learning Areas
Next I began setting up little learning areas throughout the room;
- the class library
- the science center
- the writing center
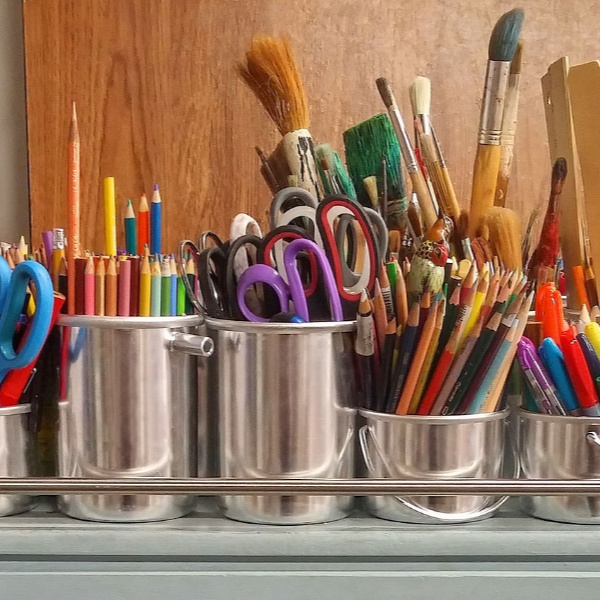
- the art supply area
- a carpet area (that would have instructional boards set up)
- the teacher corner
- the front instructional table (that holds the document camera and other supplies needed to instruct.
Unpacking The Boxes and Cupboards
Then I would start sorting my boxes, library books near the shelves, student items (crayons, baskets for supplies, glue sticks, etc.) stacked on a group of desks. My desk items moved over by my desk. Bulletin board items (borders, letters, posters) on another table grouping. And textbooks on yet another table.
I enjoyed getting everything out slowly so that I could organize and purge as I unpacked.
You see packing at the end of a long school year is exhausting, and most (dare I say ALL) of my teaching years, I was too tired to purge and throw things out. So things were packed into boxes to await my August “rebirth.”
Get to Know Your Custodian (make him your new best friend!)
You see, all the various piles on top of the clean tables can cause some custodians a bit of anxiety since they just got the room neat and tidy.
Befriend them, bring them donuts, or just chat with them about your excitement of starting a new year. Let them know this “mess” will be neat and tidy once your room is ready.
First Things First
I’d usually start with my classroom library; HEY I’M A TEACHER AND I LOVE BOOKS! The ones that had gotten frayed and damaged were tossed or donated to charity; the others were placed on the bookshelves in some sort of order.
I was never the sort of teacher with a check out system for my personal books, so I always had a few books go missing each year just hoping they were being read and enjoyed.
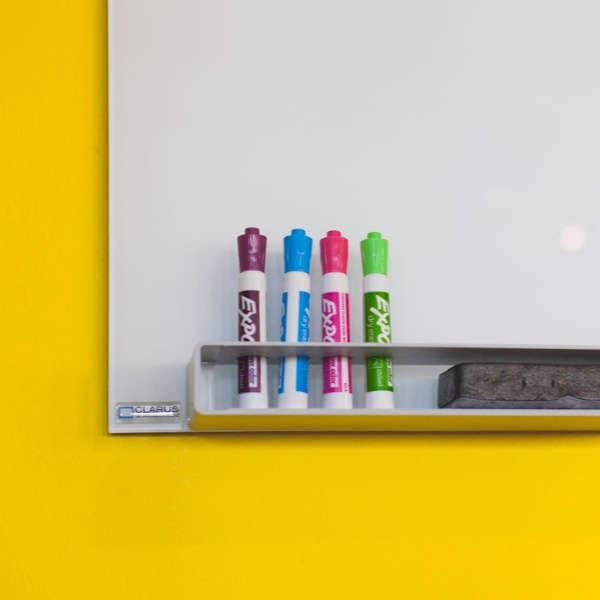
I usually put picture books together, chapter books together, large science/reference books together, etc. As I did this, I would pull out my “beginning of the year” books and place them on the marker board ledge to be read to the class during the first week of school.
I’m a BIG proponent of READING ALOUD TO YOUR CLASS DAILY!
SIDE NOTE HERE: If you teach any grade from sixth down, TRY YOUR BEST to read daily to your students.
Even if you think the day is jam packed with lessons, do it anyway. When I taught upper elementary (4th to 6th) I would read to them for about 10 minutes after lunch.
My students would really get “into the stories” and often didn’t want me to stop. And this book must be JUST FOR PLEASURE, no tests or worksheets about this book.
Believe it or not, they are actually building vocabulary skills by listening to you read; they are hearing new words and listening to your cadence as your read aloud.
Speaking of routines such as a period to read aloud to your class, be sure that you have established all your classroom routines by the first day of school so that you can teach them all to your students.
If you’d like to see what routines I used, I am sharing them with my readers on a downloadable document. Just complete the form below, and once I get your email address, I will zip it right over to you.
**
Back to Unpacking
More steps to creating the perfectly organized classroom …
The second thing I would unpack would be my teacher’s desk area. This would go quickly since I had a system of where I would put things. (You’ll get one too).
After that I began putting up my bulletin boards. The reason this was next was because I need the desks fairly clear to pass out their textbooks and school supplies. I love putting up new bulletin boards.
This task has gotten much easier with ready-made letters, computers, and fairly cheap borders. Back in the dinosaur days we actually traced and cut out letters for each board and created our own borders.
I love seeing the walls fill up with brightly colored boards waiting for student work to fill them up and make them complete.
I would set up a rather complex “calendar” board area (I taught first grade most of my career). But I also used this type of calendar board for Kindergarten and Second grade as well – with minor tweaks.
After all my bulletin boards were complete, I would neatly place the remaining bulletin board supplies in one cupboard along with other supplies such as construction paper.
The Little Things
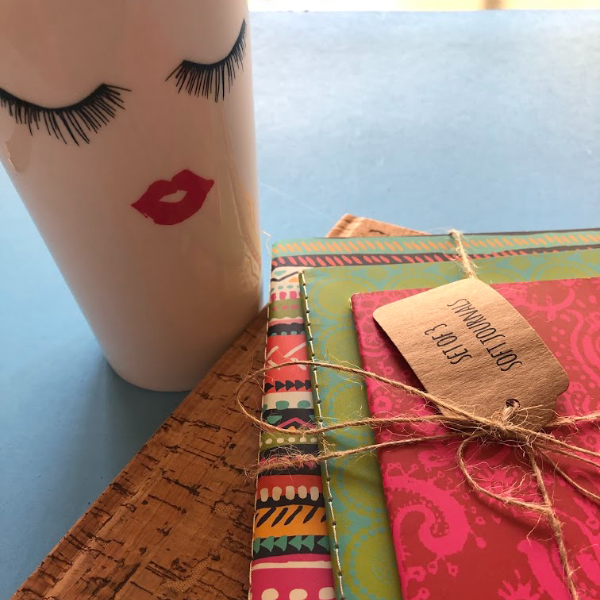
Often during these days of “short” spurts of time in the classroom, I would shift my task (usually to rest a bit) and make name tags, desk tags, folders for each student. I would assign each student a number which was used all year for different reasons.
Some years these folders would already be ready if I had done them at home earlier.
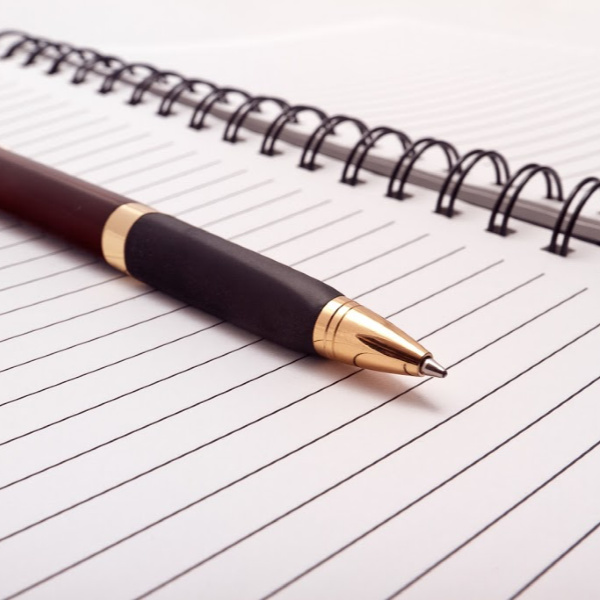
I got immense pleasure from going through a brand new plan book and writing the week at the top, listing the holidays, writing when the class has library and computer lab. Also adding when recess is each day and lunch. And not to forget to list the weeks I was assigned recess duty.
Here’s a motivating article to read also;
All of these small tasks would actually take a while (especially to do them neatly), so I would do chunks of it over a few days. I never started any lesson planning until I had this “skeleton” in my plan book finished.
Student School Supplies
Next I would organize the students’ desk supplies. Over the years I tried putting them inside the desks, or having a shared group basket, but finally I found the system that worked best for me was having each student with their own little basket or pencil box.
**
Once each of the 20 or 25 or 32 (yes a few years I taught 32 students) baskets had a brand new pencil, box of crayons, scissors and a glue stick, I placed one on each desk. At this time, I would go around and tape down their desk name tags (making sure to scatter the boys and girls around the room).
Lastly, I would pass out the text books to each desk and then go around and list the textbook number for each student in my plan book. Once that was done, the books would be stacked neatly inside their desk.
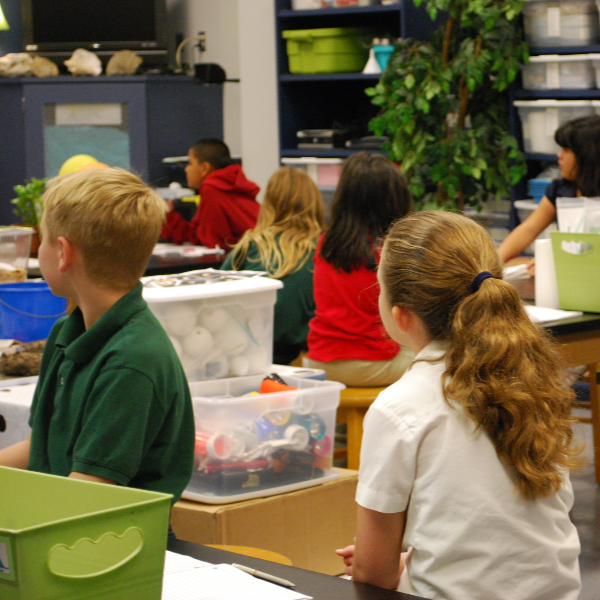
What a beautiful classroom!
Looking out at a sea of littles desks in table groups with the supplies ready to go! Now that is the PERFECT CLASSROOM! Time for the students to arrive.
Be sure to have a routine ready for when the students arrive the first day. In Kinder and First Grade, most parents want to come and help their child find their desk.
I would allow this (OF COURSE) but nudge them to either leave or stand in the back once their child was settled in their chair. Have an activity on the desk that the student can do independently so that you have time to GREET THEM and say a few kind words to their parents.
Once most students have arrived, get started with your GREETING and moving into your rules and procedures.
You don’t want TOO MUCH time to go by before starting. Believe it or not, it comforts parents to see that you are in control and know how to work with an entire class of students.
NOW YOU HAVE THE PERFECT CLASSROOM!
HAVE A GREAT YEAR !!
Until Next Time,
Your Teacher Buddy