DIY your school “printables” with online publishing tools
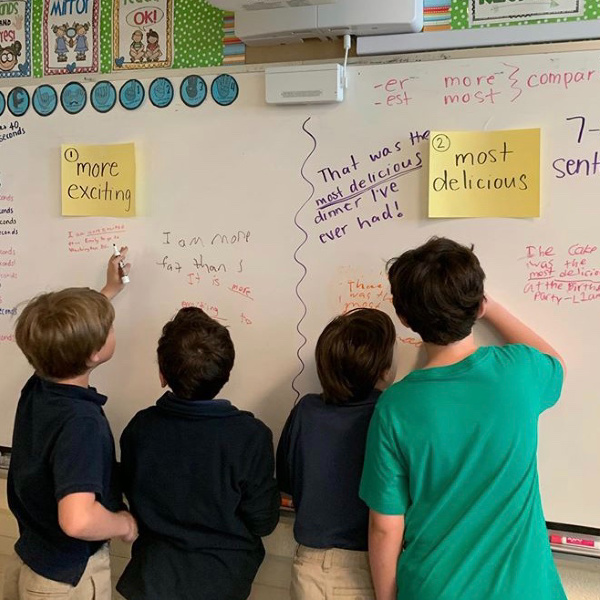
Teachers are always in need of printables for school. That’s why I want to tell you all how to DIY school printables. Printables can be worksheets, a workbook, some awards, a field trip guide, a checklist for parents, handouts for Back-to-school-night, the “program” for a performance…. and I’m sure there are numerous other items that come up during the year.

DIY School Printables with Publishing tools teachers can use themselves
There are a number of online tools that teachers can use. Some are free and others cost money for the better version. I will highlight a few here so you can try some out.
DIY School Printable with “Publisher”
Microsoft offers a publishing tool as part of their “Office” tools. Mine are purchased by my school so I’m not sure what the cost is. I believe if you are purchasing for your home computer it is billed as a monthly fee. You may have to purchase a higher plan to have Publisher.
Publisher has tons of templates for just about anything you may want to create. From invitations, to resumes, letters, brochures, programs, flyers, etc.
If you are familiar with Microsoft then Publisher should not be very difficult for you. It might take a few tries to format your “printable” the way you want it, but the products turn out nice.
DIY School Printable with “Canva”
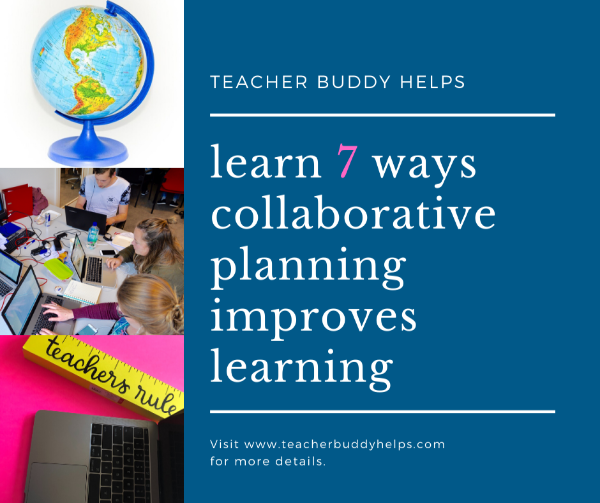
Canva is a company that has a free and a paid version. Since I have this website, I purchase the paid version that has more features. The free version is fine too, but you get more with the paid “PRO” version which currently is 12.95 per month. I LOVE CANVA! It is my favorite tool for making printables.
I have used it extensively to make workbook pages, booklets, and pamphlets, Pinterest graphics, and Facebook graphics. Here us an example of a graphic I made for my FaceBook page. I’d love to have you follow my page, it is “Teacher Buddy Helps Page” on Facebook.
As you can see, you can add more than one picture, they have a variety of font choices and templates to get you started.
DIY resizing photos with “Pic Monkey”
I have an account with Pic Monkey also, but I am not as familiar with it. So, I don’t use it as often as Canva for “printables.” What I do use it for extensively is to resize photographs. I am not sure if they have a free version. I have the subscription that costs $7.99 per month and I truly feel it is worth it.
The reason resizing photos is important is that you are able to keep the integrity of the original photo instead of trying to just shrink it in a WORD document. Often I “resize” first and then I “crop” to get the size I use most often which is 600 X 600 pixels.
You might be interested in another article I wrote about creating a class memory book or photo album. This can be for your own personal memories or you can offer to allow parents to purchase their own copy of the book you make (if using Shutterfly). Here is the link:
If this is something that sounds fun to you, or it you’re interested in finding out more about it, here is a link to Shutterfly.
DIY Printables with “Power Point”
Quite a few years ago Power Point was the way I would also create a page or nice document with a photo. But Power Point is created for presentations, and they are GREAT for that. So using it to create a page that is 8.5 X 11 inches is not ideal. Power Point is also a Microsoft product that comes with the Microsoft 365 products.
DIY School Printables with “Apple Keynote”
Apple Keynote is similar to Power Point. I haven’t used if before so cannot provide personal information or recommendations. I am sure there could be ways to create flyers or other items from this format also.
Other helpful Information
If you are creating a document and want to insert a picture or some clip art, your best bet is to use a publishing site such as Canva to get them from, and DO NOT cut and paste from the internet. Items on the internet all have a copyright issue. When you are using Canva, they are giving you (limited) rights to use their photos. If you want the ones marked PRO, you will need to purchase the PRO account. If you use one without the PRO account, they will charge you to use it. Read their terms of service.
Another site to get free photos is called Pixabay. I get many pictures from there. When you go into pixabay, after you have “searched” for your topic, there will be a row of photos at the top that are AWESOME. These are not from Pixabay, but from Shutterstock and there is a cost to use those.
The ones below the break are the FREE photos. My best guess is that these are donated by photographers that are trying to make a beginning go at photography as a business and they are willing to post free for the exposure.
Then, as mentioned earlier, when I download the photo, I load it at the original pixels but then resize it on Pic Monkey to the smaller size. This allows the picture to not lose its resolution or clarity.
I hope you have some some helpful tools and information about those tools from this article.
I don’t want to forget to offer you a “printable” I made for teachers. Here is a quick list of 10 Ways to Impress Your Principal.
**
That’s it for now. Until Next Time,